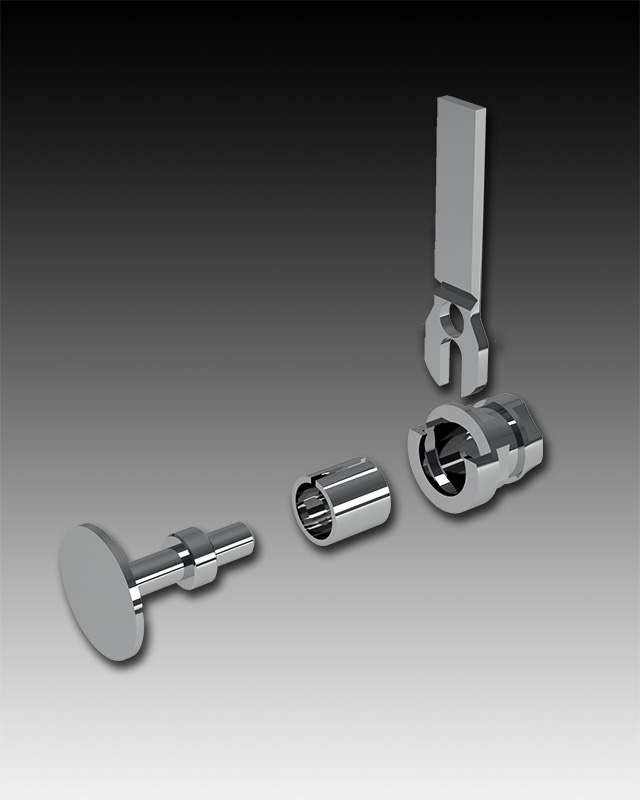

OT Lock
Locking pin – titanium
Adjustable titanium locking pin. Spacer ring system to position the key to the desired shape.


Locking pin – titanium
Adjustable titanium locking pin. Spacer ring system to position the key to the desired shape.
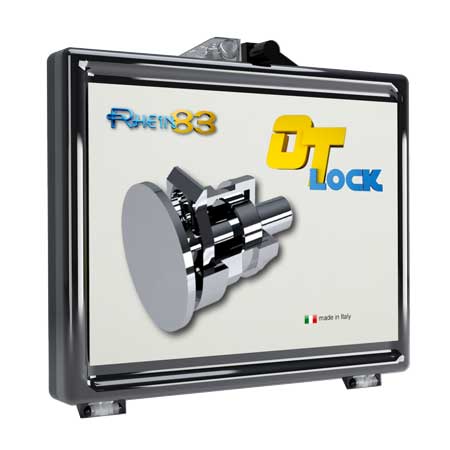
Kit contains:
• 1 LOCKING PIN SET
• 1 HOUSING SHAPER
• 1 CERAMIC PIN
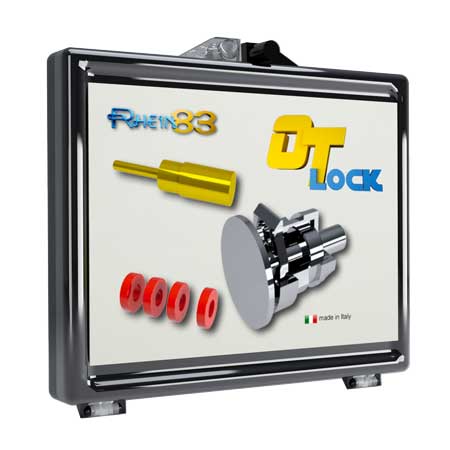
Kit contains:
• 1 LOCKING PIN SET
• 1 HOUSING SHAPER
• 1 CERAMIC PIN
• 9 CASTABLE SPACER RINGS
• 1 CONICAL GUIDE
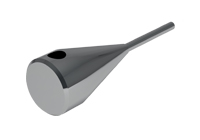
• 1 UNLOCKING TOOL
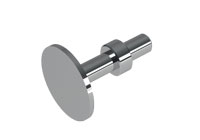
• 1 SLIDING KEY
(ONLY FOR TITANIUM – CASTABLE LOCKING PIN)
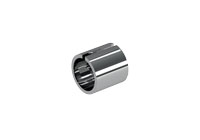
• FLEXIBLE RING
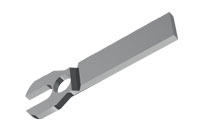
• LOCKING KEY
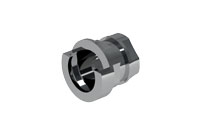
• 1 TITANIUM PREFABRICATED HOUSING
(ONLY FOR TITANIUM – TITANIUM ADJUSTABLE LOCKING PIN)
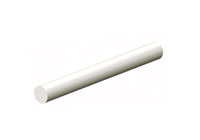
• CERAMIC PIN
• 1 ADJUSTABLE SLIDING KEY
(ONLY FOR TITANIUM ADJUSTABLE LOCKING PIN)
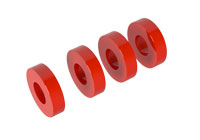
• 9 CASTABLE SPACER RINGS
(ONLY FOR TITANIUM ADJUSTABLE LOCKING PIN)
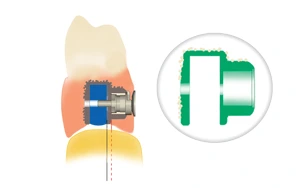
Locking key in position without spacer rings.
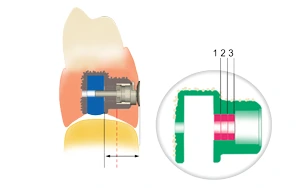
Locking key positioned using spacer rings to follow the contour of the denture.
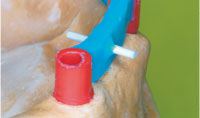
Model the bar in resin and drill a 0.8 mm hole in the most ideal position. Insert the ceramic pin through the hole.
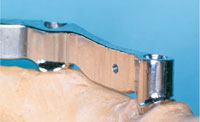
The finished and polished bar.
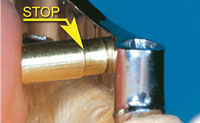
Insert the housing shaper into the hole and lock it in place using resin. Be sure not go past the “STOP”when appling resin.
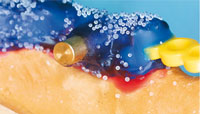
Using resin, complete the model of the superstructure up to the “STOP”. Remove the housing shaper and cast.
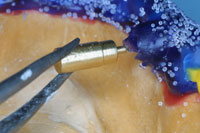
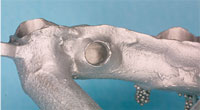
Insert the pre-fabricated housing and bond.
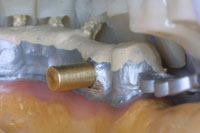
Insert the positioner again. Proceed with wax and cure the resin.
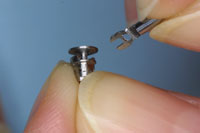
Insert the locking key into the prefabricted housing guide. The “keyring” mechanism is now locked.
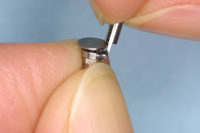
Bend the locking key and brake it.
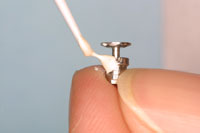
Apply the self-hardener composite material to stop the locking key and insert the locking pin in the hole.
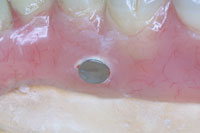
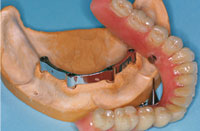
Finished prosthesis. Determine whether or not to use the EXTRACTOR KEY.