Threaded spheres

OT EQUATOR M2

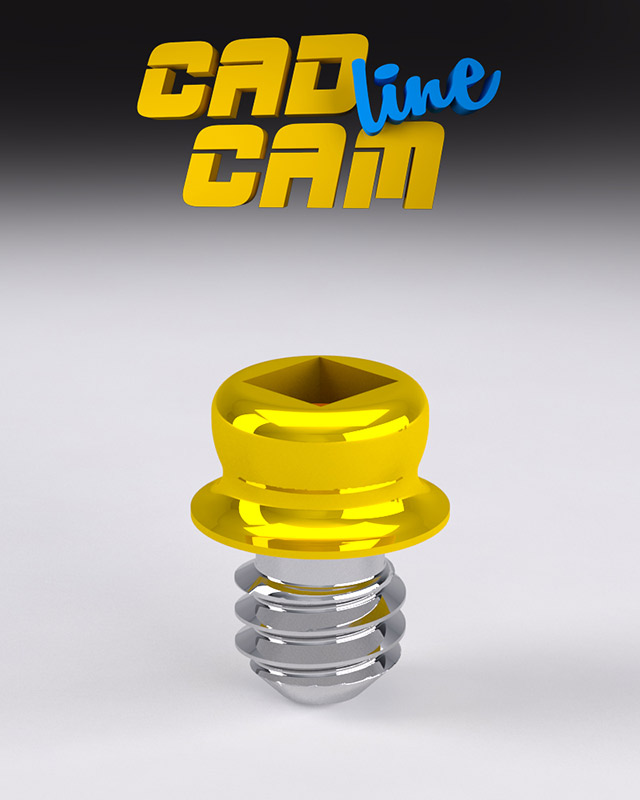
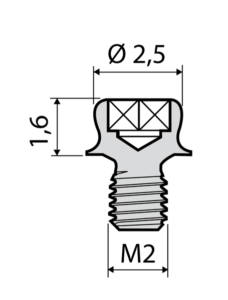
At 2.1 mm vertical height and 4.4 mm width, the new Ot Equator offers the lowest profile and smallest footprint of any overdenture attachment, on the market. Ot Equator Cad-cam with 2mm thread is available in existing software libraries.
In addition to the instruments and retentive caps, black caps are available for laboratory use only.

PRODUCT INFO

DENTAL CLINIC

LABORATORY

PRODUCT SPECIFICATIONS

VIDEO

PRODUCT INFO

Ref. 039SFE2

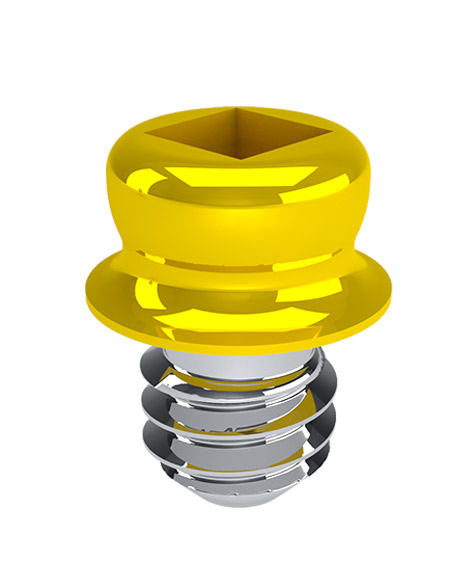
1 OT EQUATOR THREADED (direct into 2mm thread)

Ref. 192ECE

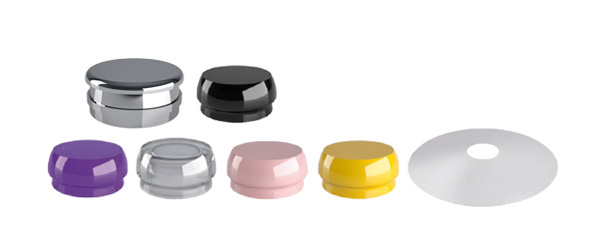
CAPS ASSORTMENT KIT

Kit contains:

• 1 STAINLESS STEEL HOUSING
 1 PROCESSING CAP
 1 PROTECTIVE DISK
 4 RETENTIVE CAPS (1 extra-soft, 1 soft, 1 standard, 1 strong)


SPARE PARTS

Ref. 0140CEV

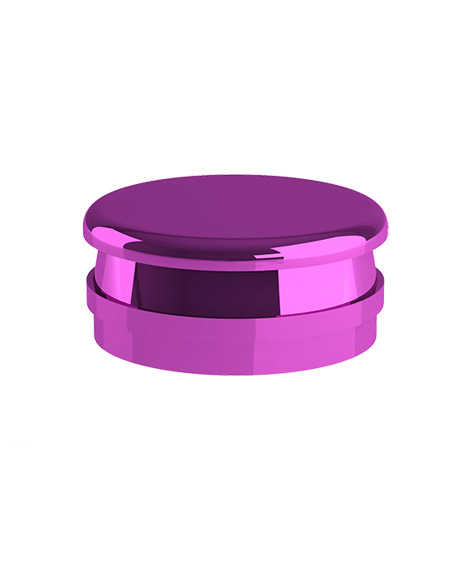
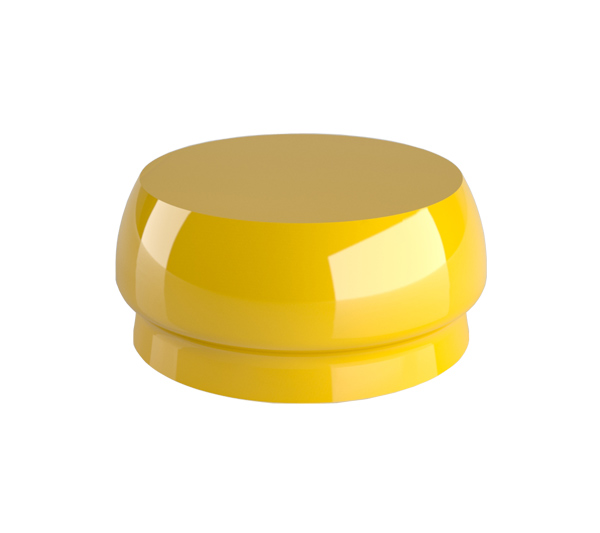
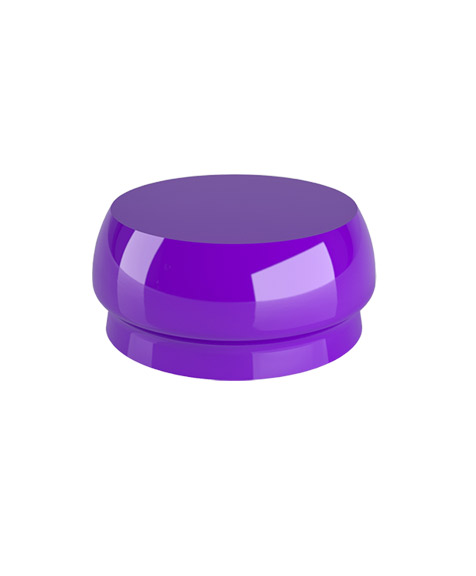
4 RETENTIVE CAPS / VIOLET (strong 2700g)
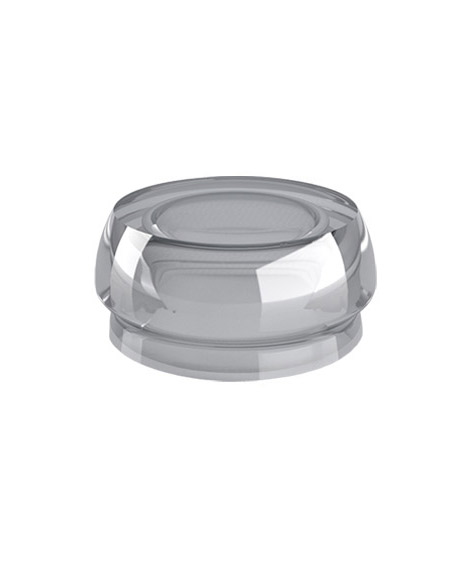

Ref. 140CET

4 RETENTIVE CAPS / CLEAR (standard 1800g)
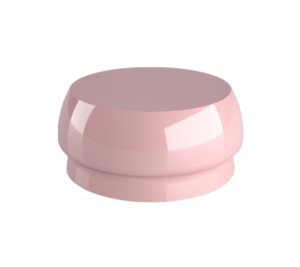

Ref. 140CER

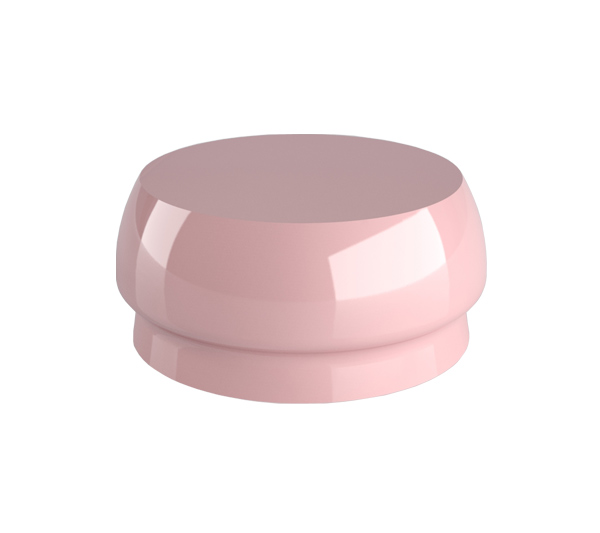
4 RETENTIVE CAPS / PINK (soft 1200g)


Ref. 140CEG

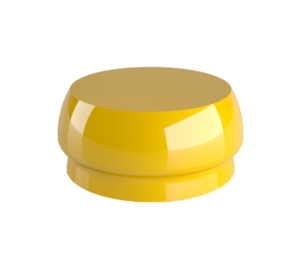
4 RETENTIVE CAPS / YELLOW (extra-soft 600g)
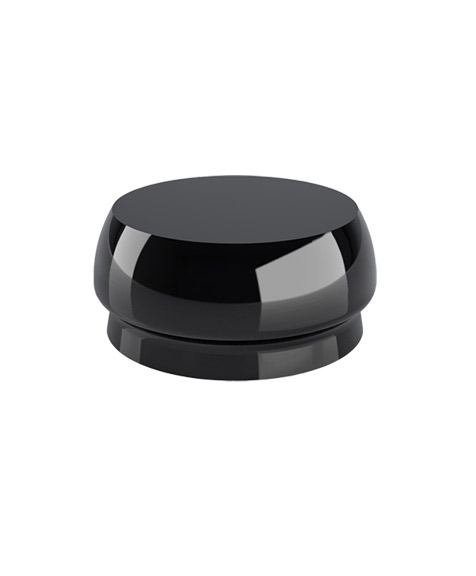

Ref. 140CEN

4 RETENTIVE CAPS  / BLACK (for laboratory use only)
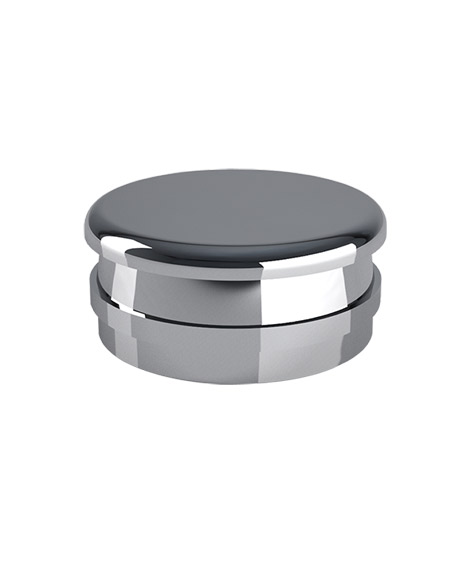

Ref. 141CAE

2 STAINLESS STEEL HOUSINGS


Ref. 141CTE

2 TITANIUM HOUSINGS / FUCHSIA ANODIZED


TOOLS
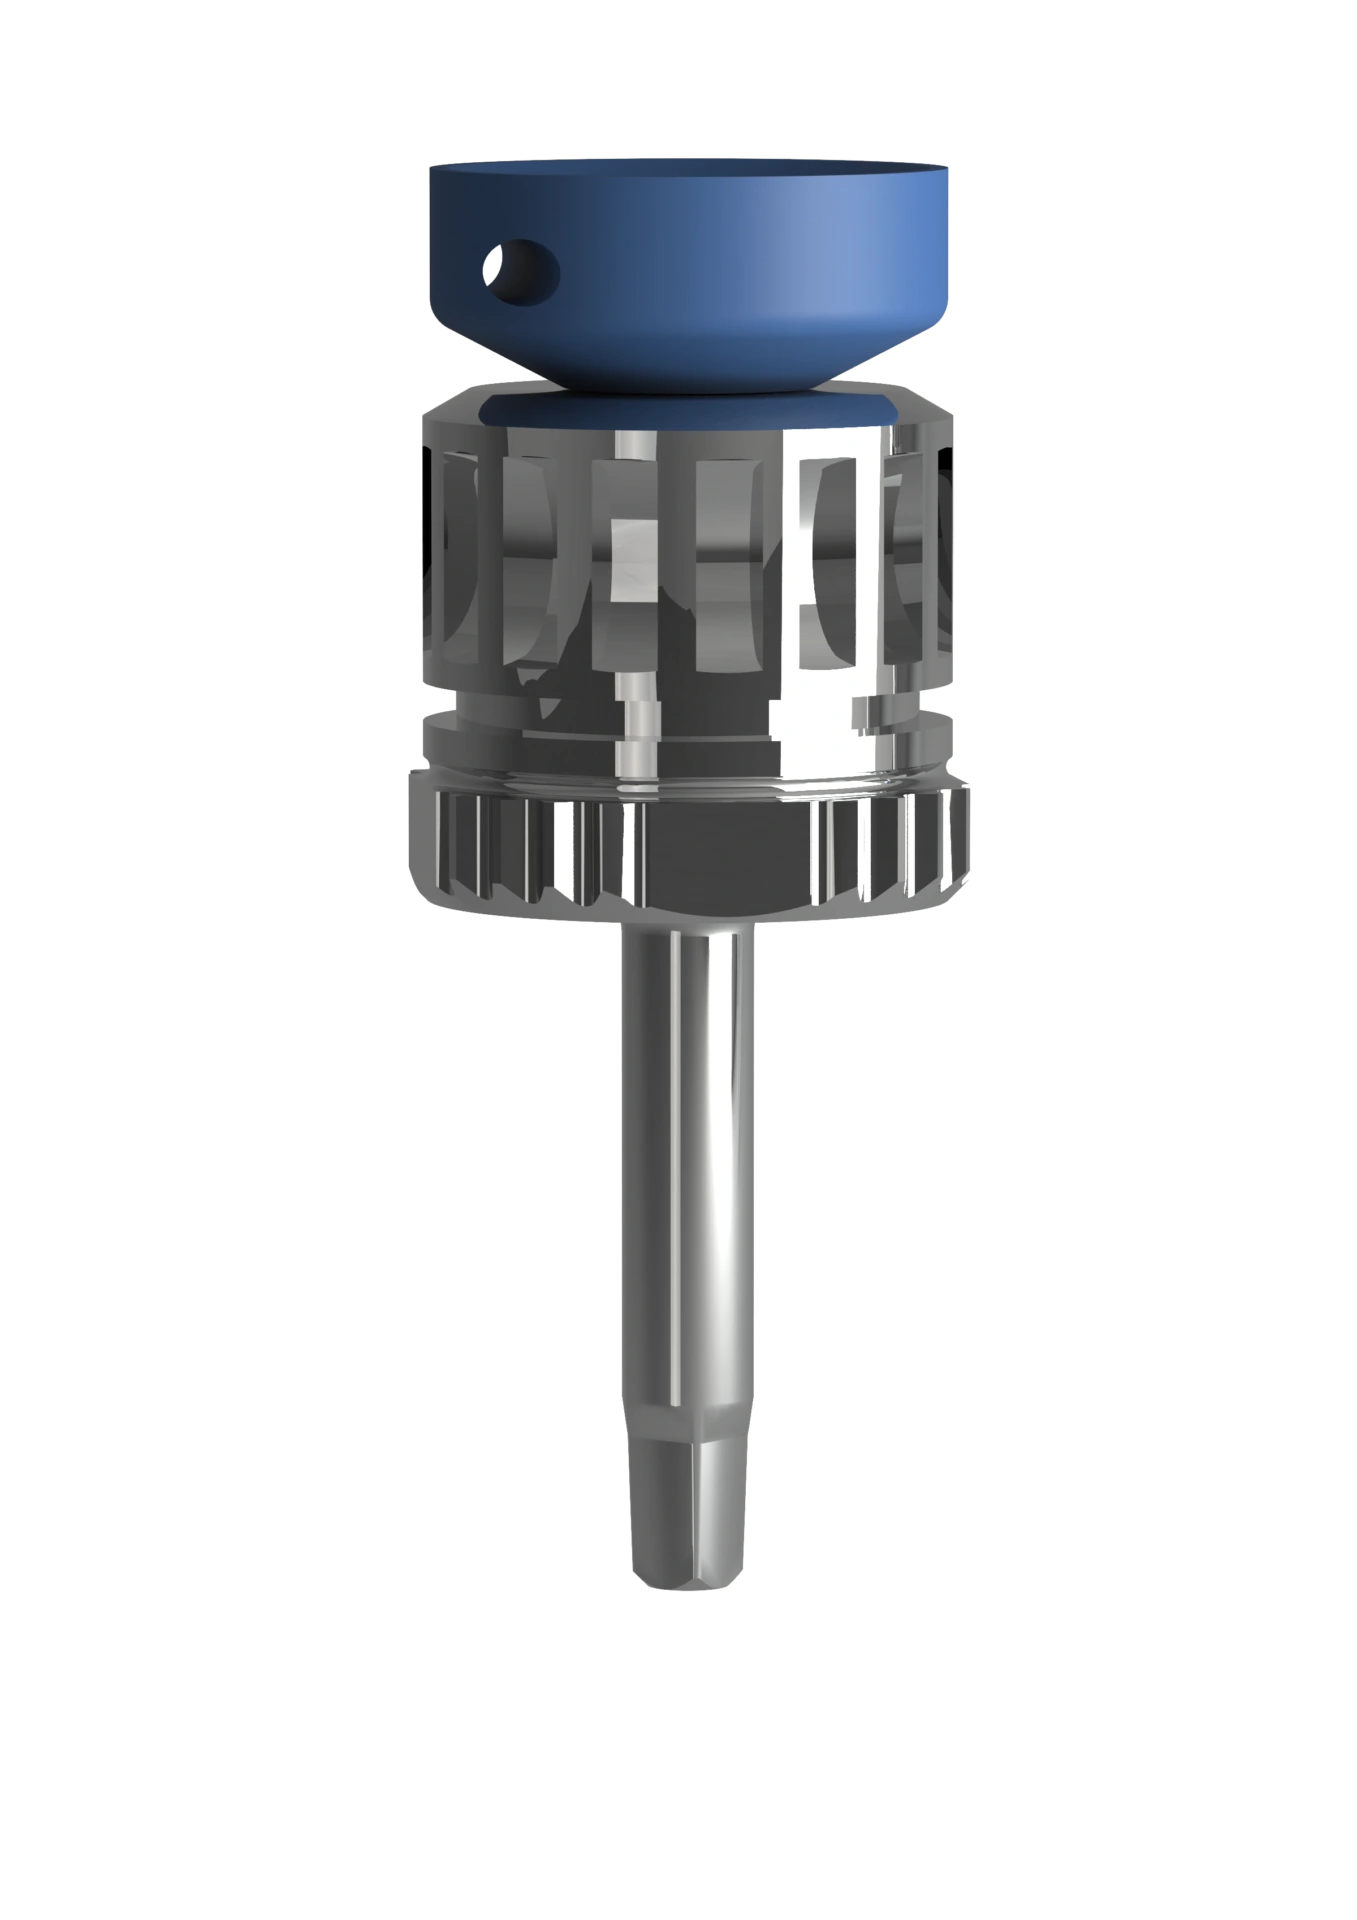

Ref. 776CGC - 777CGL*
(*Long version)

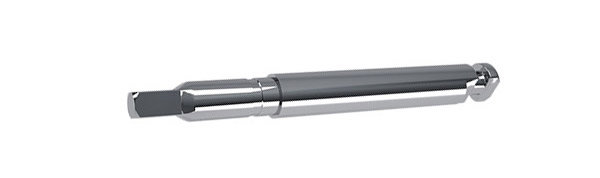
• 1 SQUARE SCREW DRIVER for tightening OT EQUATOR
(SQUARE TIP 1.25MM) (USABLE WITH THE MANUAL TORQUE WRENCH)
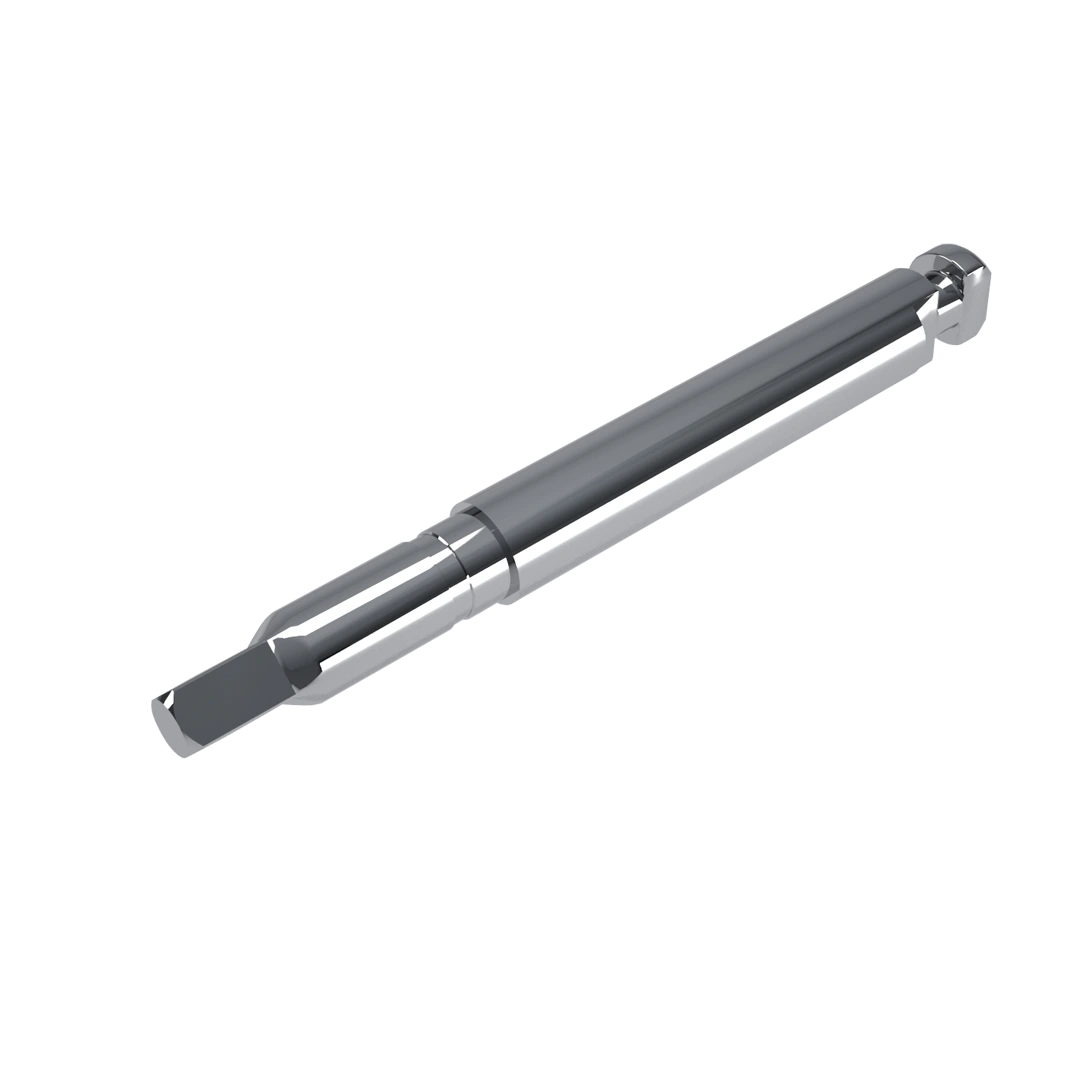

Ref. 760CQC h 22mm - 760CQCL h 32mm 

• 1 OT EQUATOR SCREWDRIVER/STEM FOR TORQUE CONTROLLER WITH SQUARE CONICAL TIP
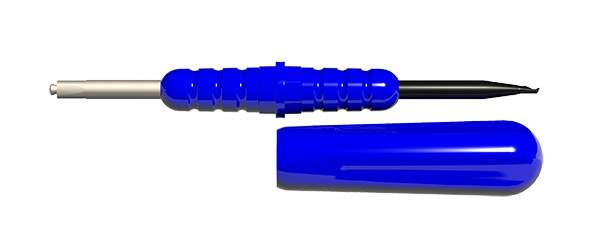

Ref. 485IC

1 MULTIUSE CAPS INSERTER/EXTRACTOR TOOL
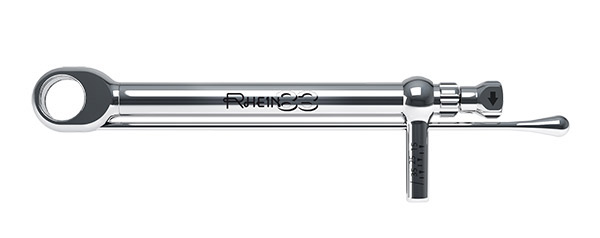

Ref. 760CRD

• 1 LLAVE DINAMOMÉTRICA PARA OT EQUATOR Y SPHERO BLOCK - FLEX: VALOR DE 15 A 35 Ncm - MAX 70 Ncm TORQUE


LABORATORY

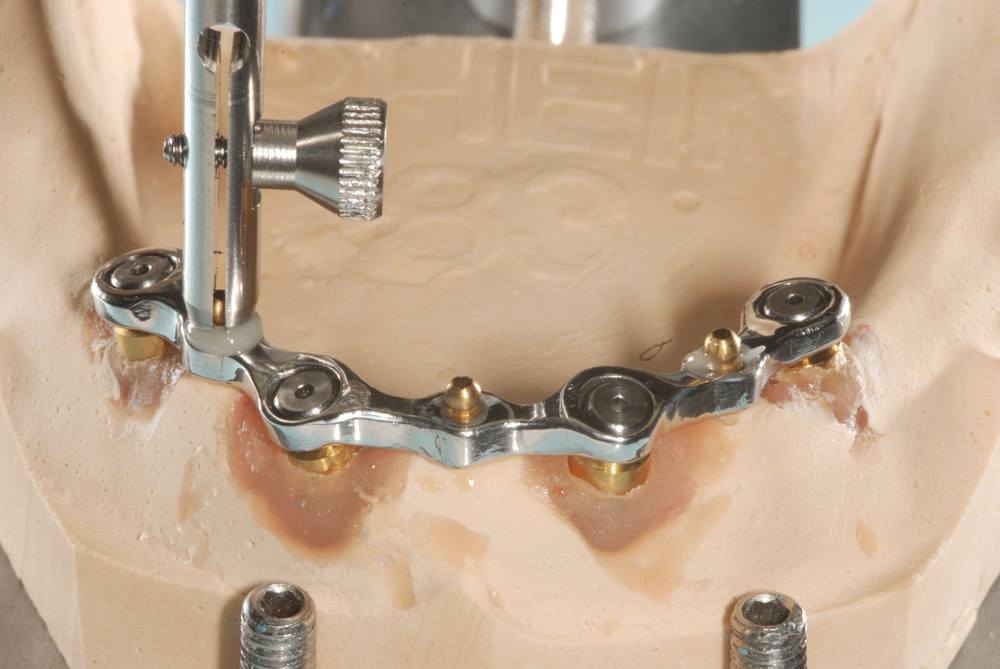
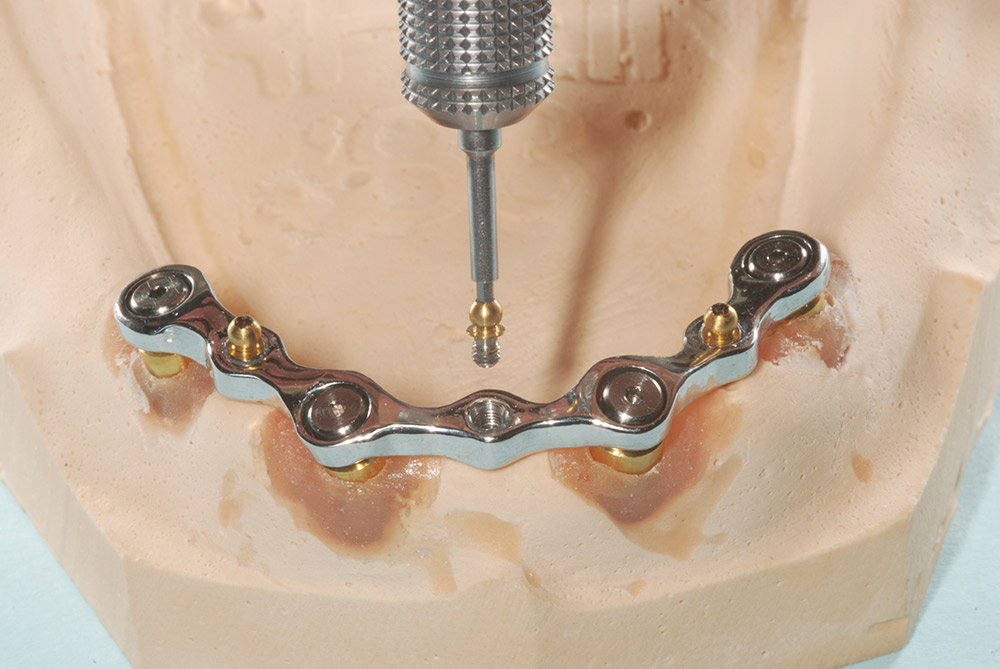
Threaded sleeve bonding procedure

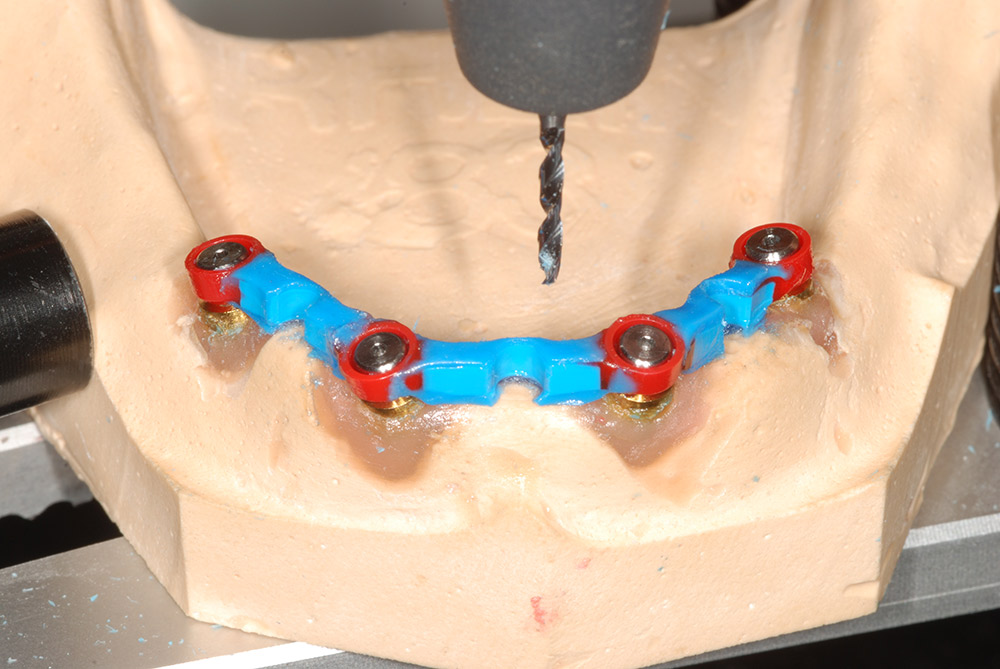
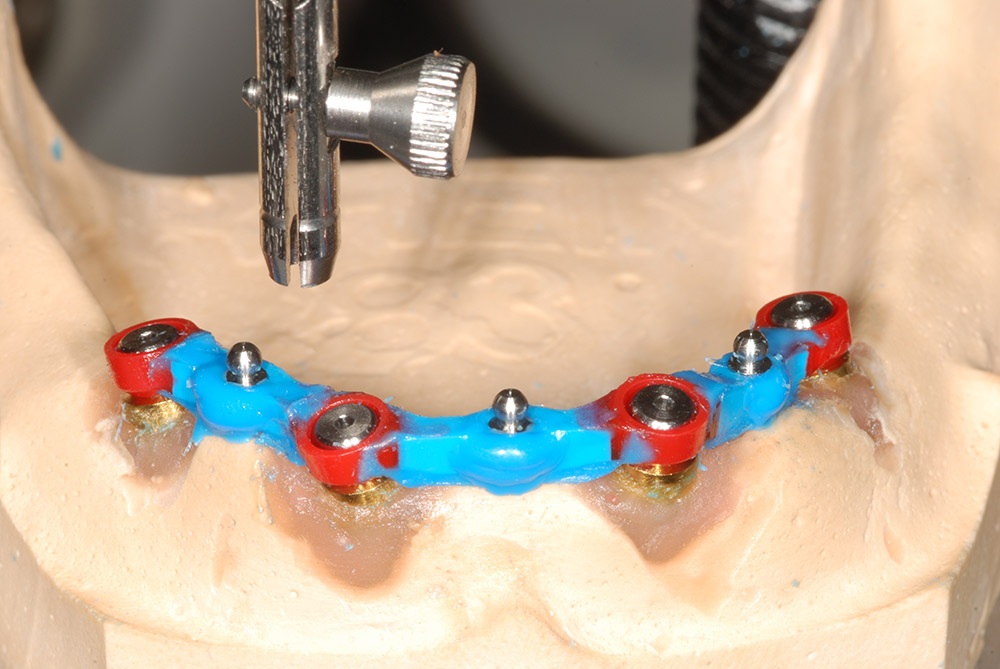
Once the bar has been connected with wax, create an area where the attachment spacer will be placed.

Apply separator to the base of the attachment spacer and postion using the parallelometer key.

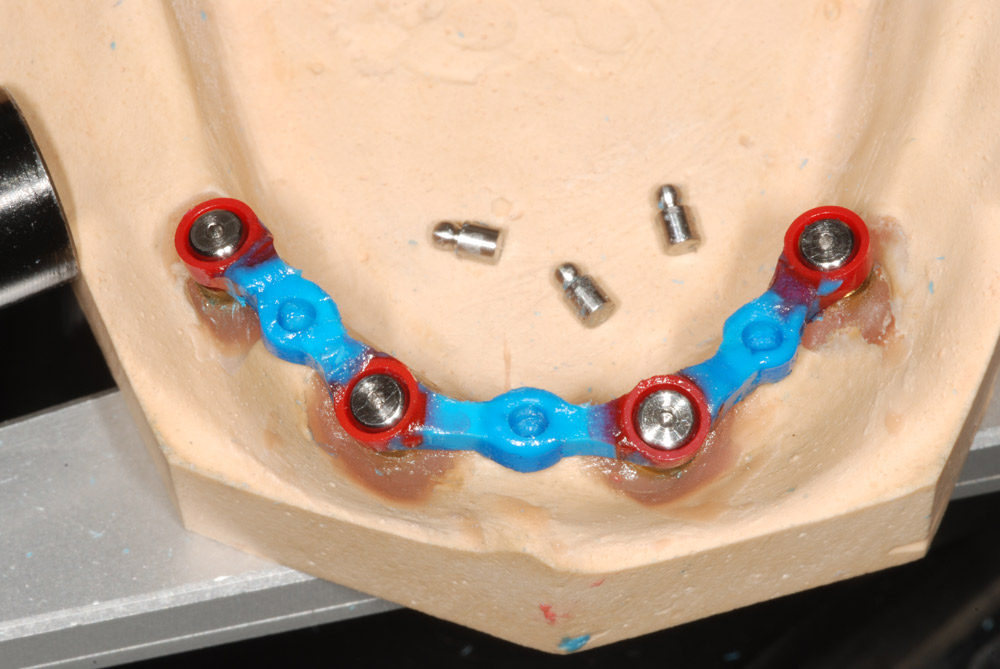
With the attachment spacer in position, complete the wax-up design.

Carefully remove the attachment spacers and proceed with the NORMAL casting procedure.

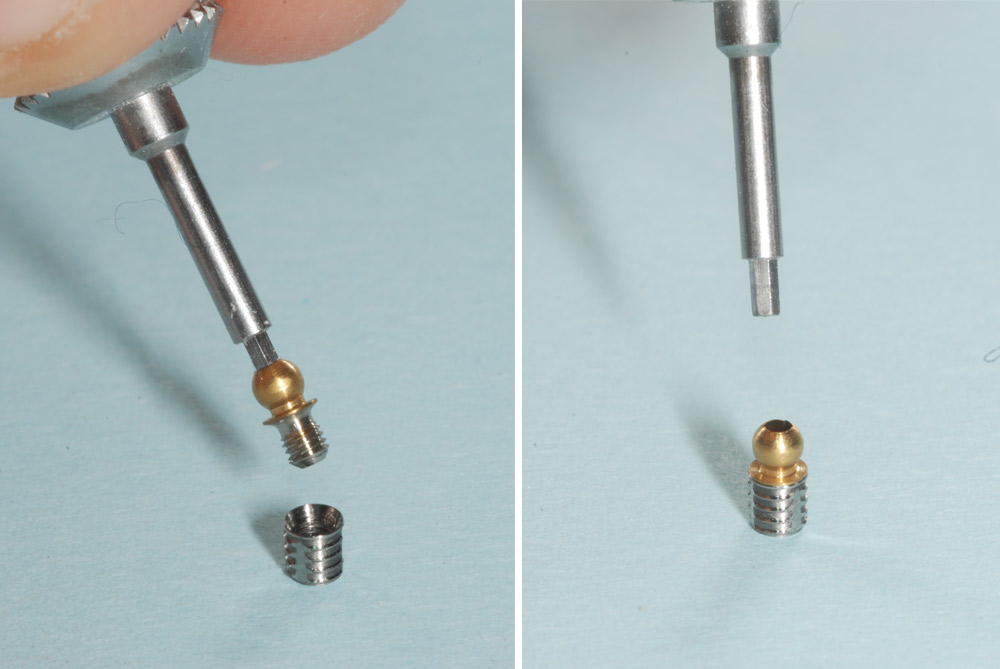
Screw the threaded attachment of choice (MICRO Ball shown) into the threaded sleeve.

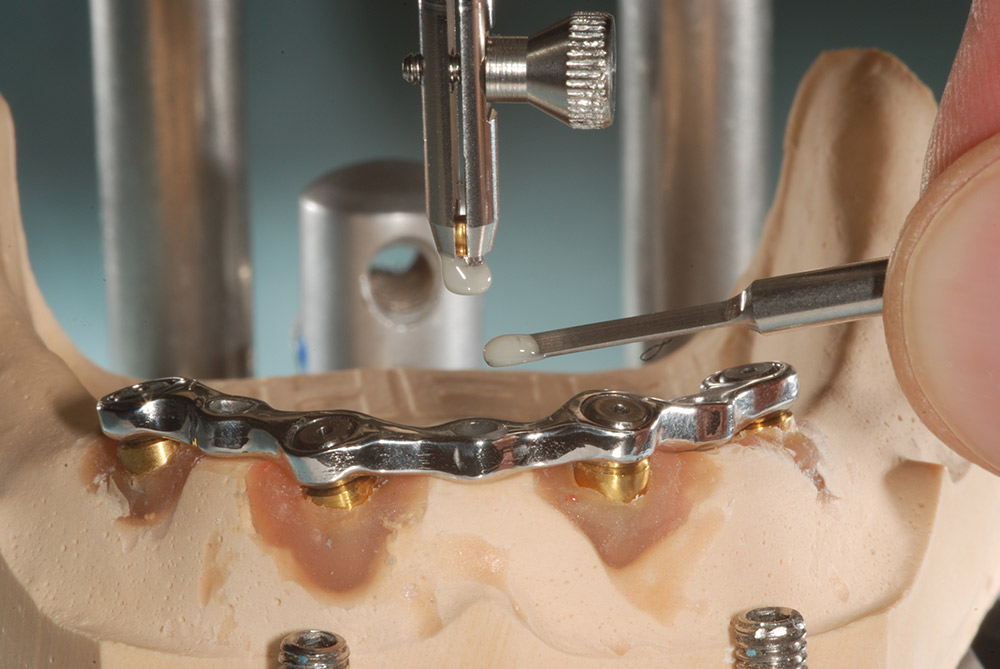
Place the assembled attachment into the parallelometer key. Use a self curing metal to metal bonding composite on the sleeve and in the cylinder.

After the composite is cured, remove any excess material.

Unscrew the attachment to verify if the threaded sleeve is securely bonded in place.

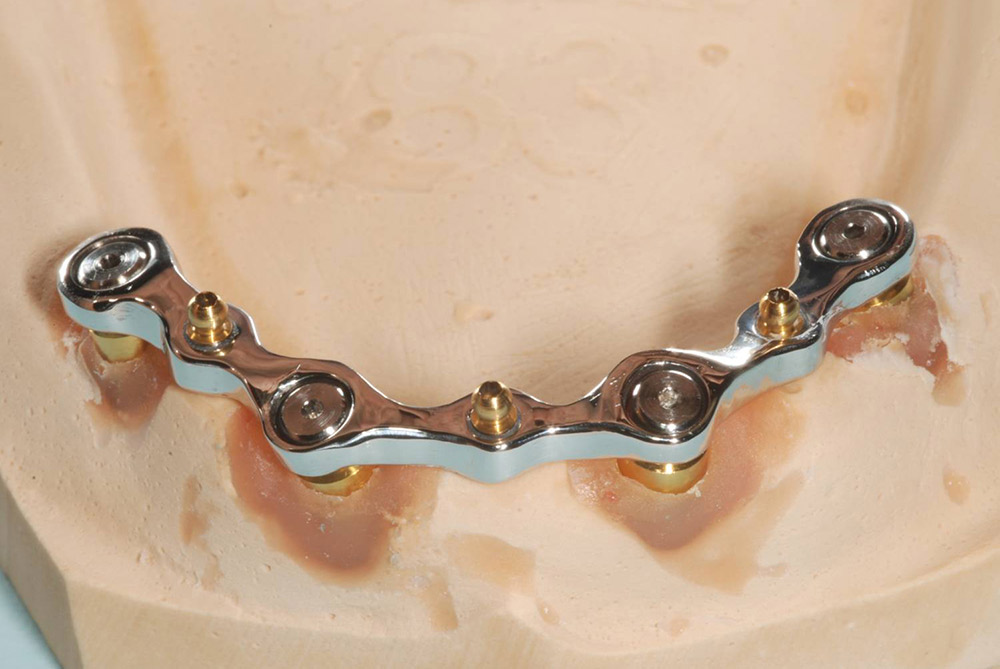
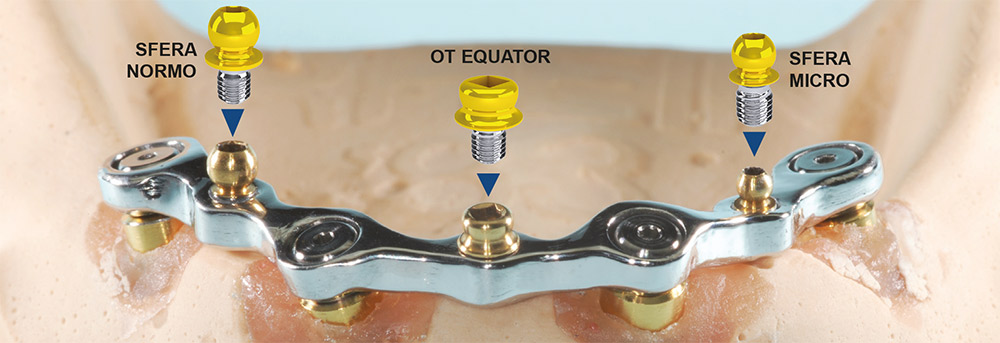
The finished bar complete with attachments.

The technique is the same for all three attachment models

PRODUCT SPECIFICATIONS

VIDEO